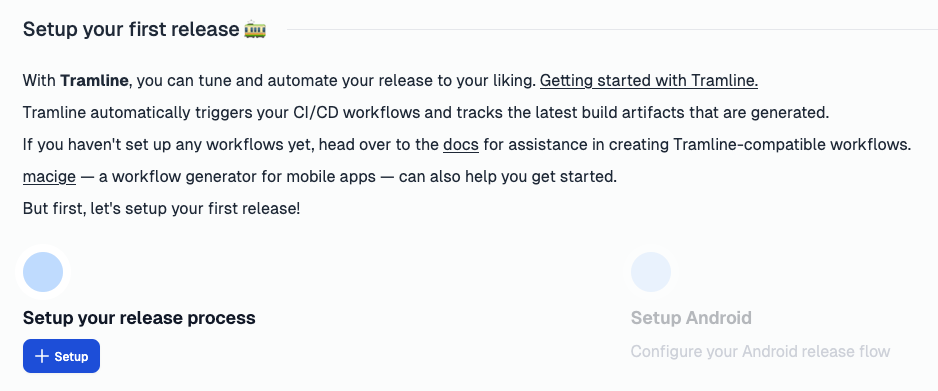
Prepare for release
Once your app and integrations are set up, you can set up your release process.
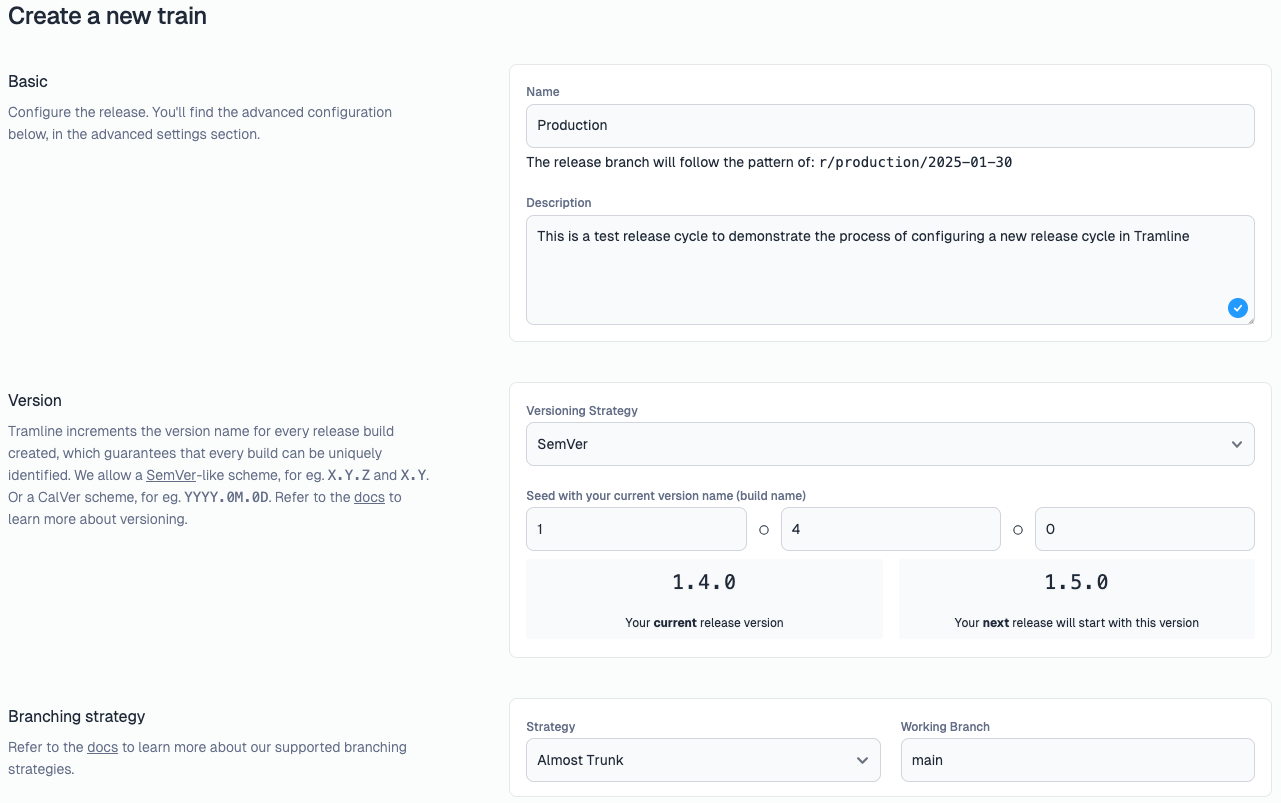
Configure the release cycle
- Choose the correct branching strategy for your release train. We recommend Almost Trunk.
- Select the versioning strategy that you use for you app. We support SemVer and CalVer version schemes.
- Depending on your Branching Strategy, configure the correct set of branches that Tramline will read and write to.
Submission settings
Once the release train is created, review the submission settings that Tramline automatically creates for you.

- Release Candidate (RC) Workflow: This is a mandatory configuration. This workflow selected should generate an RC build (aab/apk/ipa) that will be sent to your production and beta testing submissions.
- Production Release: This is enabled by default if you have connected the store integrations. You can disable this if you don't want to release the app to public. If enabled, you can also control the staged rollout configurations for your store release.
- Beta Testing: If you share your RC with internal or external testers on the store before releasing to public, you can enable this. This is disabled by default.
- Internal Testing: In addition to beta testing, if you generate an internal build (staging/debug) that your internal testers use for testing, you can enable this. This is disabled by default. Configure how you generate this build as well as where the internal builds are send to (likely a place like Firebase App Distribution).
There are some changes required in your workflow and app codebase to ensure that the builds generated are identified correctly by Tramline.
The pre-requisite steps required for the workflows to work well with Tramline.
- They must accept version name and version code as input parameters.
- You must use the version name and code passed to the workflow in your app's build.
- They must output a valid build that can be shipped to the configured places.
- Lastly, your workflow must accept a
workflow_dispatchtrigger (GitHub Action only) to allow Tramline to trigger the workflow using the API.
We have a deploy-action tool for GitHub Actions that use you can use to manage the inputs in your workflows. For Bitrise, and Bitbucket, your workflow should accept the version name and code as input parameters explicitly.
Sample changes required on GitHub Actions:
name: Android Prod Release

on:
  workflow_dispatch:
    inputs:
      tramline-input:
        description: "Tramline input"
        required: false

jobs:
  build:
    runs-on: ubuntu-latest
  steps:
    - name: Configure Tramline
      id: tramline
      uses: tramlinehq/deploy-action@v0.1.7
      with:
        input: ${{ github.event.inputs.tramline-input }}

    - name: Setup versionName regardless of how this action is triggered
      id: version_name
      run: |
        WORKFLOW_INPUT=${{ steps.tramline.outputs.version_name }}
        VERSION_NAME=${WORKFLOW_INPUT:-"1.0.0"}
        echo "ORG_GRADLE_PROJECT_VERSION_NAME=$VERSION_NAME" >> $GITHUB_ENV

    - name: Setup versionCode regardless of how this action is triggered
      id: version_code
      run: |
        WORKFLOW_INPUT=${{ steps.tramline.outputs.version_code }}
        VERSION_CODE=${WORKFLOW_INPUT:-"1"}
        echo "ORG_GRADLE_PROJECT_VERSION_CODE=$VERSION_CODE" >> $GITHUB_ENV

# rest of your workflow
To ensure that your build uses the correct version name and code, update your build.gradle file to include the following:
android {
    defaultConfig {
      // other default config
      versionCode =
        if (project.properties["VERSION_CODE"] != null) {
          (project.properties["VERSION_CODE"] as String).toInt()
        } else {
          1
        }

      versionName =
        if (project.properties["VERSION_NAME"] != null) {
          project.properties["VERSION_NAME"] as String
        } else {
          "1.0.0"
        }
    }
}
For more variations of these changes, please read the CI/CD section carefully.
Once all the submission settings are configured, you can start the release process.
More details on the configuration options of the release cycle and submissions can be found in the Release Settings section.